 Flippd Help
How do I add a new item to my inventory?
To add a new item, tap the + button on the Inventory screen, fill in the details, and tap Add.
Step-by-Step
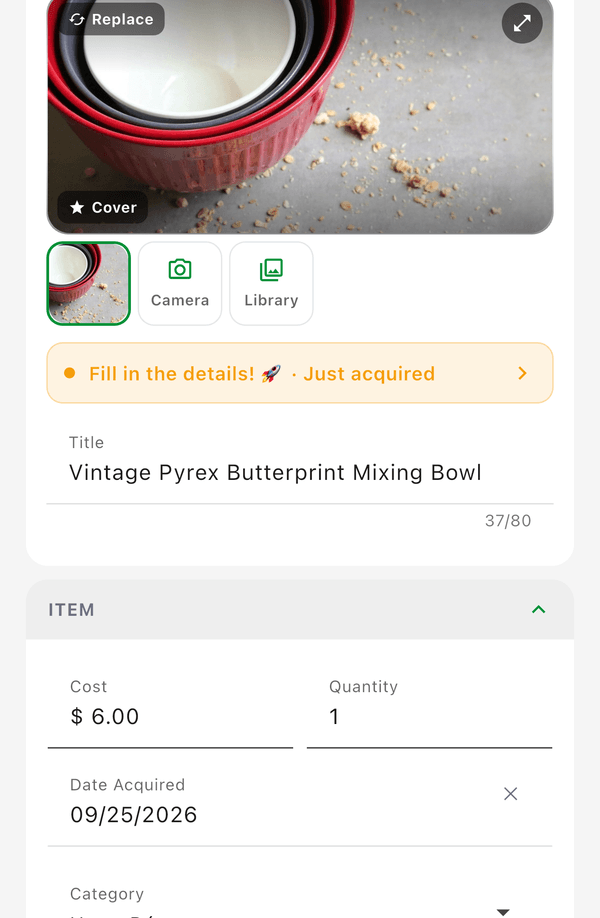
Tap the + button from the Inventory screen
Fill in the item details:
- Title (required) -- What you're selling
- Cost of Good -- What you paid for the item
- Quantity -- Defaults to 1
- Date Acquired -- Date the item was acquired
- Category -- Type of item (Clothing, Electronics, etc.)
- Source -- Where you got it (Thrift Store, Estate Sale, etc.). You can mark one source as your default in Settings > Customize Data > Sources and it will auto-fill on every new item.
- Storage Location -- Where it's stored (Shelf A, Closet 1, etc.)
- Estimated Sale Price -- What you plan to sell it for
Add photos by tapping the camera icon -- you can add up to 8 photos per item (see How do I add and manage multiple photos for an item?)
Tap Add
The item appears in your inventory with Unlisted status.
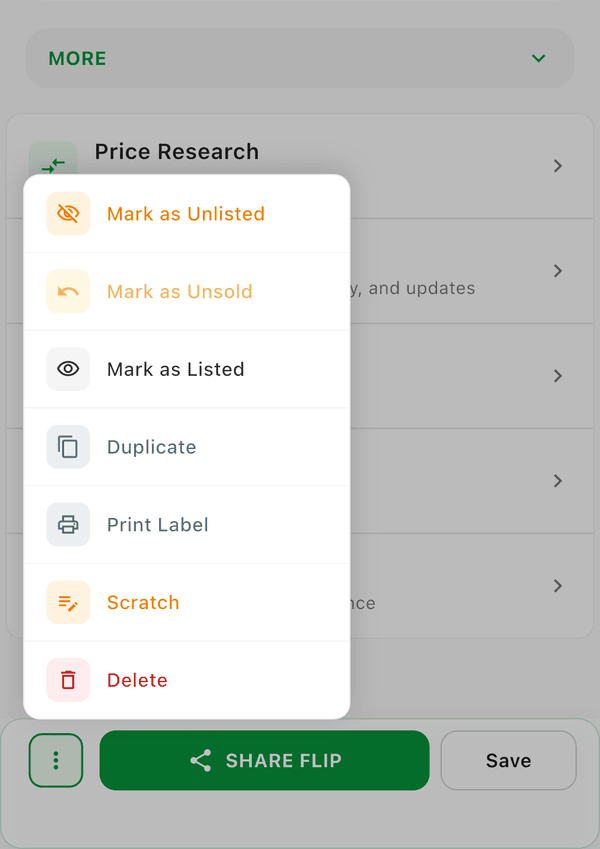
Tip: Want the item to be Listed (or Sold) right away? Instead of tapping Add, tap the ... (more options) menu in the bottom bar and choose Listed or Sold -- the item is created with that status in one step, no need to add it first and list it afterward.
Buying Items in Lots (Quantity Greater Than 1)
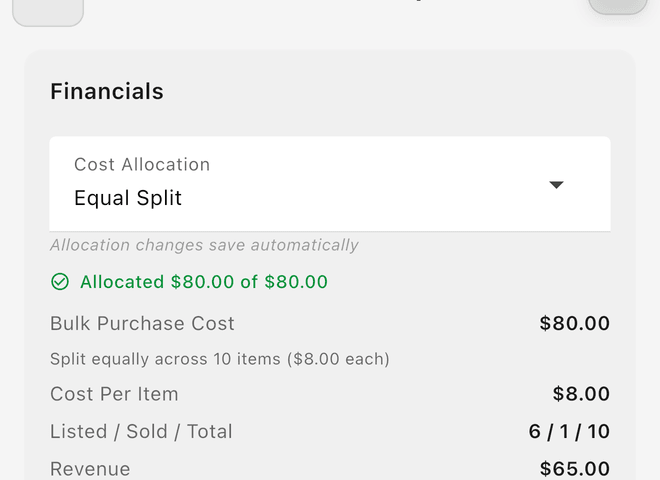
If you buy multiple identical items in a lot, you can track them as a single record with a quantity:
- Set the Quantity field to the number of items (max 99)
- Enter the total cost for the entire lot
- When you sell from the lot, Flippd asks how many you're selling and automatically creates a new sold record with that quantity
- The original item's quantity is decremented
Note: Costs are not automatically split. After a partial sale, you'll need to adjust the original item's cost to reflect the remaining value. For example, if you bought 10 items for $100 and sold 2, update the original item's cost from $100 to $80.
In Settings > Inventory Preferences > Multi-Quantity Sale Handling you can change how a sale from a lot is handled:
- Manual (Do Nothing)
- Auto Split - Quantity Only
- Auto Split - Cost Only
- Auto Split - Both
Good to Know
- The more details you add, the better your reports and analytics will be
- You can edit any item later to add missing details
- Date Acquired defaults to today but can be set to any date in the past 20 years
- If you have multiple similar items, swipe from left to right on the inventory list and tap Dupe to save time. The duplication sheet has Copy photos and Copy original quantity toggles
- The default flow is Unlisted > Listed > Sold, but you can still reverse that with the ... ellipsis menu in the bottom left of the inventory detail
Related Articles
- How do I edit an item's details, photos, or status?
- How do I add and manage multiple photos for an item?
- How do I import inventory from a CSV or spreadsheet?
- How do I duplicate or clone an inventory item?