 Flippd Help
How do I add custom fields to my inventory items?
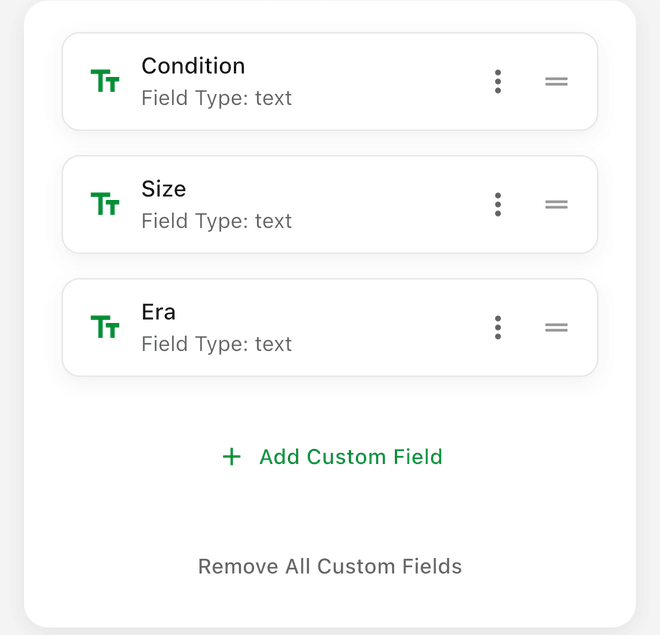
To add custom fields, go to Settings > Custom Fields and create fields for any extra data you want to track on your inventory items.
Step-by-Step
- Go to Settings (tap the gear icon in the top right)
- Tap Custom Fields
- Tap + Add Custom Field to create a new field
- Enter the Field Name (e.g., "Brand", "Size", "Condition", "Color")
- Optionally enter a Default Value that pre-fills the field on new items
- Save
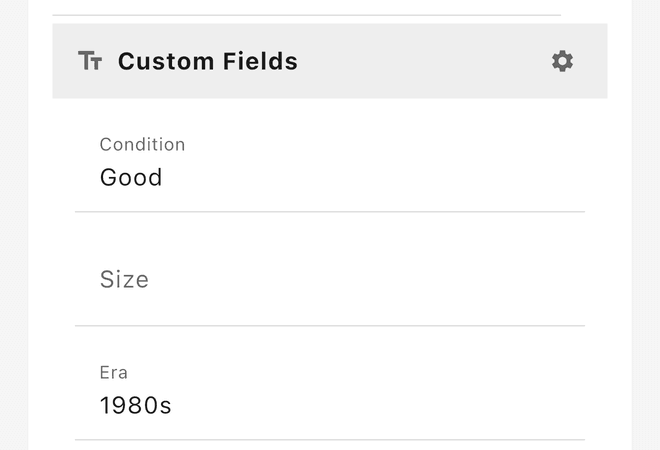
The new field appears on all item add/edit screens going forward. Every custom field is a text field.
When to Use Custom Fields
Custom fields let you track data that Flippd doesn't include by default:
- Brand -- Track item brands for sourcing insights
- Size -- Record clothing or shoe sizes
- Condition -- Note item condition (New, Like New, Good, Fair)
- Color -- Track colors for easy identification
- Weight -- Record item weight for shipping estimates
- Lot number -- Group items from the same sourcing trip
Good to Know
- Custom fields appear on item detail screens and can be included in exports
- You can edit or remove custom fields anytime in Settings -- tap a field to rename it, or use Remove All Custom Fields to clear them all
- Existing items won't have values for newly created fields until you edit them
- Custom fields can be imported from a CSV (Tools > Import / export) and are included as columns in your data export
- Use custom fields to track anything specific to your reselling niche
- Don't create a field for SKU, there is a dedicated screen for SKU settings
- Custom Fields show up for all categories (we are considering allow custom fields by category if there is enough demand. let us know!)