 Flippd Help
How do I check out a shopper's picks from my Storefront?
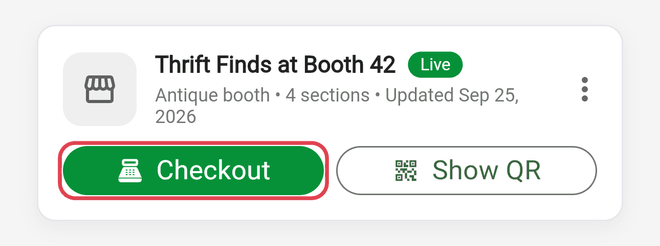
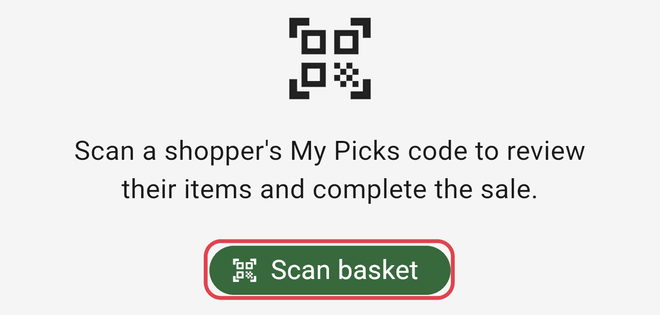
When a shopper has built a My Picks list on your storefront, open Tools > Storefronts, tap Checkout on that storefront, and Scan basket to scan the code on their phone. Flippd shows their items and any offer they entered; you confirm the Final total, where it sold, and the date, then tap Complete sale to mark every item Sold in one step.
Before you start
Checkout needs Let shoppers build My Picks turned on in the storefront's details, and the storefront must be published -- the Checkout button only appears on the storefront card when both are true. Turn on Allow bundle offers as well if you want shoppers to propose one total for their whole list.
On the shopper's side, they tap Pick on items as they browse, open My Picks, optionally enter Your offer, and tap Ready for checkout. Their phone shows a QR code under "Show this to the seller." Picks are not reservations, and nothing is charged on their phone.
Step-by-Step
- Open Tools > Storefronts and tap Checkout on the storefront
- Tap Scan basket and point the camera at the shopper's code. Anything else shows "That isn't a My Picks checkout code."
- Review the list: each item's title, stock number or SKU, and marked price (or Ask price if it has none), then the Marked total and how many items are unpriced
- If the shopper made an offer it appears as Shopper offered and is prefilled into Final total -- "you can still change it." Otherwise Final total starts at the marked total
- Enter the Final total you agreed on
- Choose where it sold. This defaults to your Local / in-person platform and remembers your last choice
- Set Date sold (defaults to today)
- Tap Complete sale. You'll see "Sale complete" with the count and total, then Done or Scan next code to move straight to the next shopper
Good to Know
- Every item is marked Sold with a share of the total. The final total is split across the items in proportion to their list prices (equally if none have a price), so each record gets its own gross sale, sold platform, and date sold.
- Items that changed since they were picked are called out. A Not available box lists them as Already sold, No longer listed, or Not available, and they are left out. If something changes between scanning and Complete, you'll see "Some items just changed. Review and try again." and the basket refreshes.
- Only eligible items can be sold this way: items in your account that are Listed and not linked to a marketplace such as eBay.
- A code can't sell the same items twice. Scanning a completed code again returns the original sale.
- $0 sales need confirming. Entering 0 prompts "Complete for $0.00?" because every item would be recorded with a $0.00 sale price.
- Baskets from another storefront still work. A note says "This basket is from a different storefront" before you sell.
- Limits. A shopper can pick up to 50 items on their device, and one checkout code holds at most 50 items; larger baskets go through in two batches.
- The shopper sees it too. Once you complete the sale, their phone updates to "You're all set!"
- No payment is processed. Flippd records the sale; you collect the money as you normally do.