 Flippd Help
What are Storefronts and how do I use them?
A Storefront turns your Flippd inventory into a simple public catalog that shoppers can browse on their own phones while they're standing at your table. It's built for in-person selling — estate sales, antique booths, flea markets, and garage sales.
Shoppers open a link (or scan a QR code), browse the items you've chosen to make public, and see them organized into friendly sections. No app or sign-in required on their end.
Storefronts is available to everyone. If you don't see it in your app, go to Settings > Feature Visibility and turn on Storefronts.
What Storefronts is not
Storefronts is not an online marketplace. Flippd does not handle checkout, payments, or shipping, and your storefront is not publicly listed or searchable anywhere. Sales still happen in person, the way they always have — the storefront just makes it easier for shoppers to browse what you have.
Getting started
- Find Storefronts in the app. It's on for everyone — if you don't see it, turn on Storefronts under Settings > Feature Visibility.
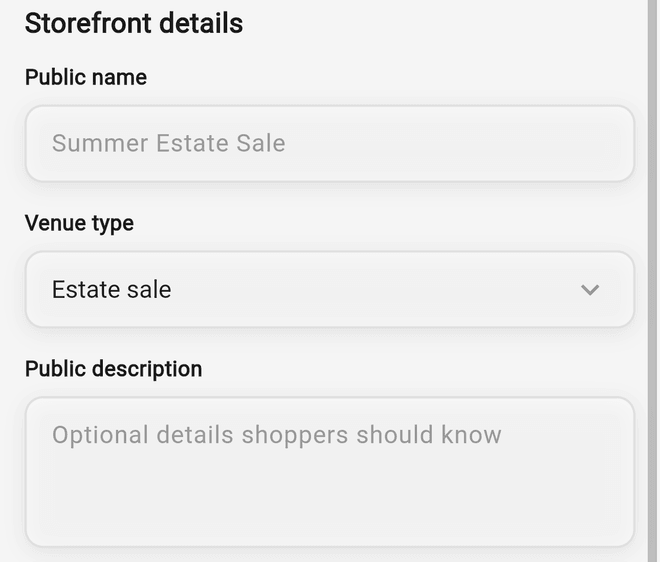
- Create a storefront. Give it a public name (e.g. "Summer Estate Sale"), pick a venue type (estate sale, antique booth, flea market, garage sale, or other in-person venue), and add an optional description and start/end dates.
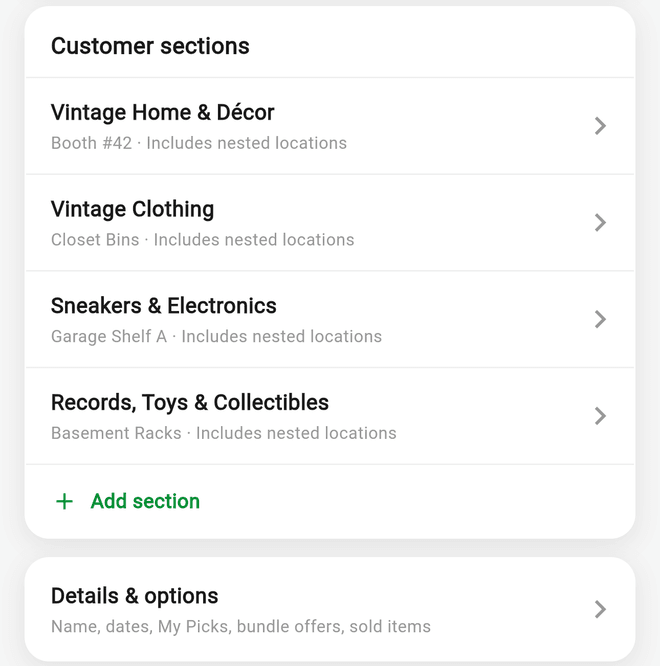
- Add customer sections. Map your storage locations to shopper-friendly section names — for example, a location called Garage / Shelf B3 can appear to shoppers simply as "Vintage Tools." You can optionally include nested rooms and containers in a section.
- Preview & publish. Choose which sections are public, preview the exact item counts, and publish. Your storefront goes live instantly.
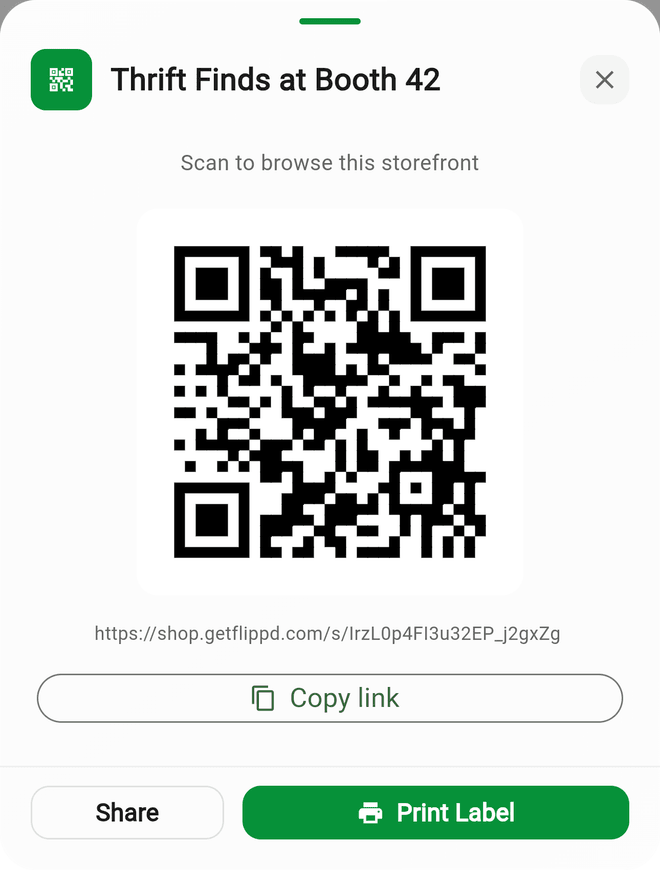
- Share it. Copy the link or show the QR code for shoppers to scan. Print the QR and put it on your table or booth.
Which items appear in your storefront
You never add items to a storefront one by one. A storefront mirrors your inventory — an item appears automatically when it meets all three rules below, and disappears again the moment it stops meeting them.
1. The item's status must be Listed or Sold
| Status | Appears? | How shoppers see it |
|---|---|---|
| Listed | Yes | Available to buy |
| Sold | Yes, unless you turn it off | Shown with a Sold marker, so shoppers can see what's moving |
| Unlisted | No | Stays private |
| Death Pile | No | These are Unlisted items 30+ days old, so they stay private |
| Scratch Pile | No | Stays private |
| Donated | No | Stays private |
| Deleted | No | Stays private |
This is the single most common reason an item is missing. If you have 80 items in a room but only 12 are marked Listed, only those 12 (plus anything already Sold) will show. To publish more, open the items and mark them as Listed.
Don't want sold items on display? Turn off Show sold items in your storefront's details. Sold items then disappear from the storefront entirely, and shoppers only see what's still available. It's on by default, because a few Sold tags are good social proof — they show a browsing shopper that things are moving and worth deciding on now. Turn it off when a mostly-sold table would make your storefront look picked over. You can flip it any time; the change reaches shoppers within a minute, no re-publishing needed.
2. The item can't be linked to a marketplace
To respect marketplace terms, items tied to an external selling platform are always excluded from a public storefront. An item is excluded if any of these are true:
- It was imported or synced from eBay or another marketplace integration — this sticks with the item permanently, even after the marketplace listing ends
- It carries a real marketplace listing ID or listing URL
- It came from an older spreadsheet import that included a platform item ID
Items you created in Flippd stay eligible. Manually choosing a listing platform on an item you created is only a note about where you intend to list it — that alone does not exclude it.
Want buyers to see your eBay listings? Share your eBay listing or eBay store link instead. Please don't re-enter items you have listed on eBay as new Flippd items just to get them into a storefront. You'd lose the automatic sale sync for those items, and storefronts aren't meant to be a second catalog for your online listings.
3. The item must sit in a storage location you've made public
Only the sections you publish are visible, and a section points at one storage location. See below for how nested locations work.
How storage locations become sections
Storage locations in Flippd nest three levels deep — for example an estate, its rooms, and the totes inside a room:
- Level 1 — parent: 916 Ponytail
- Level 2 — sublocation: 916 Ponytail › Office
- Level 3 — container: 916 Ponytail › Office › Tote A
When you add a section to a storefront, you pick one storage location as its source and give it a shopper-friendly name. Then the "Include rooms and containers inside this location" toggle decides how deep that section reaches:
- Toggle on — the section includes that location plus everything nested underneath it, all the way down all three levels. Mapping 916 Ponytail with the toggle on publishes the house, its rooms, and the totes inside those rooms as one section.
- Toggle off — the section includes only items assigned directly to that exact location. Items sitting in 916 Ponytail › Office would not appear in a 916 Ponytail section.
A few things to know about sections:
- The section name shoppers see is independent of the storage location name — rename freely.
- Two sections can't overlap. If one section already includes a location's descendants, you can't also map one of those descendants as its own section; change the descendant setting on one of them.
- Each section has its own Included when published switch, so you can keep a section built but hidden.
- A storefront can have up to 24 sections.
- Archived storage locations are skipped, along with everything nested under them. If a section points at an archived location, publishing is blocked until you fix the section.
Optional shopper features
- Show sold items — On by default. Sold items stay in the storefront with a Sold badge and a shopper can filter to Available or Sold. Turn it off to publish only what's still for sale — the Sold filter disappears too, since there's nothing left to filter.
- My Picks — Let shoppers build a personal pick list as they browse, so they can keep track of what they want to grab. Picks are saved on the shopper's own device and do not reserve inventory.
- Bundle offers — Let a shopper enter one optional total for everything in their picks. You always confirm the final sale price in person — an offer is just a starting point for the conversation.
Checking out a shopper
When a shopper is ready to buy, open your storefront and tap Checkout, then scan the My Picks code on their phone. Flippd shows you their picked items and any offer they entered, lets you set the final total and where it sold, and Complete sale marks every item Sold in one step. Items that were sold or changed since they were picked are called out as not available so you don't sell them twice.
Managing a live storefront
- Live edits appear immediately. Once published, saved changes to your details and public sections show up for shoppers within seconds.
- Pause anytime. Pausing a storefront makes its public link stop working immediately. You can edit it and resume later.
- Deleting a storefront removes it and its sections and disables its link. Your storage locations and inventory are never changed.
Why is my storefront showing fewer items than I expected?
Work down this list — the Preview & publish step in the editor shows you the exact included and excluded counts, so it's the fastest place to check.
- Check how many items are actually Listed. Filter your inventory by that storage location and set the status filter to Listed. That number, plus your Sold items, is what shoppers will see. Unlisted and Death Pile items are the usual missing ones.
- Check the descendant toggle. If your items live in rooms or totes underneath the location you mapped, turn on "Include rooms and containers inside this location" for that section.
- Check the section is public. A section only counts when Included when published is on.
- Check for marketplace-linked items. Anything synced from eBay is excluded and always will be. The preview counts these separately so you can tell them apart from status exclusions.
- Check "Show sold items." If your sold items vanished from the storefront, this option is off.
- Check the storefront isn't paused. A paused storefront's link stops working entirely.
If an item is Listed, in a published section, and not marketplace-linked but still isn't showing, contact support with the item's stock number.
Good to Know
- Photos catch up on their own. A newly added photo takes a moment to be prepared for shoppers. The item still appears in the meantime, just without its picture.
- Picks don't hold items. Nothing is reserved until you complete the sale in person.
- You're in control of what's public. Only the sections you choose are ever visible, and only while the storefront is live.
- Hiding the feature needs a pause first. The Storefronts toggle under Settings > Feature Visibility can't be turned off while any storefront is live — pause it first.
- Very large storefronts are blocked. If the locations you've mapped contain more than about a thousand items, publishing is refused — split them across narrower sections.
- Your cost and profit stay private. What you paid, where you sourced it, your profit, and your storage location names are never sent to the public page.
- Check your notes before publishing. Shoppers see each item's title, photo, asking price, stock number, and — when you've filled them in — its description, notes, and SKU. If you use the notes field for private reminders like what you paid or where you found something, clear it before you publish.