 Flippd Help
How do I set up and use storage locations?
To create storage locations, go to Tools > Storage locations, tap Add Storage Location, give it a name, then assign items to it. You can nest locations up to three levels deep with sublocations (like rooms inside a house, or totes inside a room), and every location has a QR code for quick scanning.
Creating a Storage Location
- Go to Tools > Storage locations
- Tap Add Storage Location to create a new location
- Enter a name (e.g., "Shelf A", "Closet 1", "Blue Bin")
- Optionally add a Photo, Type, Address, Location, and Description under More options
- Tap Add Location (or Save Changes when editing)
The Type can be My home, Estate, or Storage unit. Estates and storage units can be marked as liquidating; your own home is never flagged.
Creating Sublocations
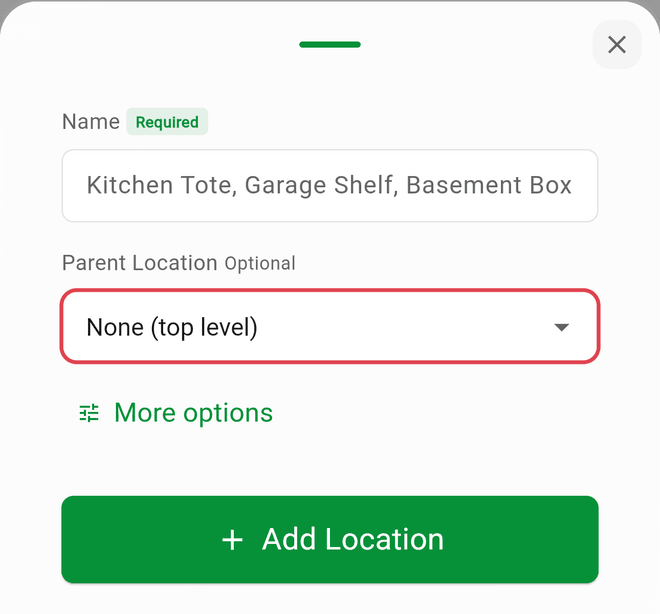
Sublocations let you group locations under a parent — for example, an estate sale address with each room underneath it, or a storage unit with numbered boxes inside.
- Go to Tools > Storage locations
- Tap Add Storage Location to create a new location (or edit an existing one)
- Enter the name (e.g., "Office")
- Set Parent Location to the location it belongs under (e.g., "916 Ponytail")
- Tap Add Location (or Save Changes when editing)
To create several at once, open a location's menu and tap Add rooms (for a top-level location) or Add containers (for a room), then enter the names in one go.
The hierarchy goes three levels deep: a parent location holds sublocations, and those can hold containers of their own — for example an estate, its rooms, and the totes inside a room.
Example setup for an estate sale:
- 916 Ponytail (parent)
- Office
- Kitchen
- Basement
- Tote 1
- Tote 2
Viewing Storage Locations
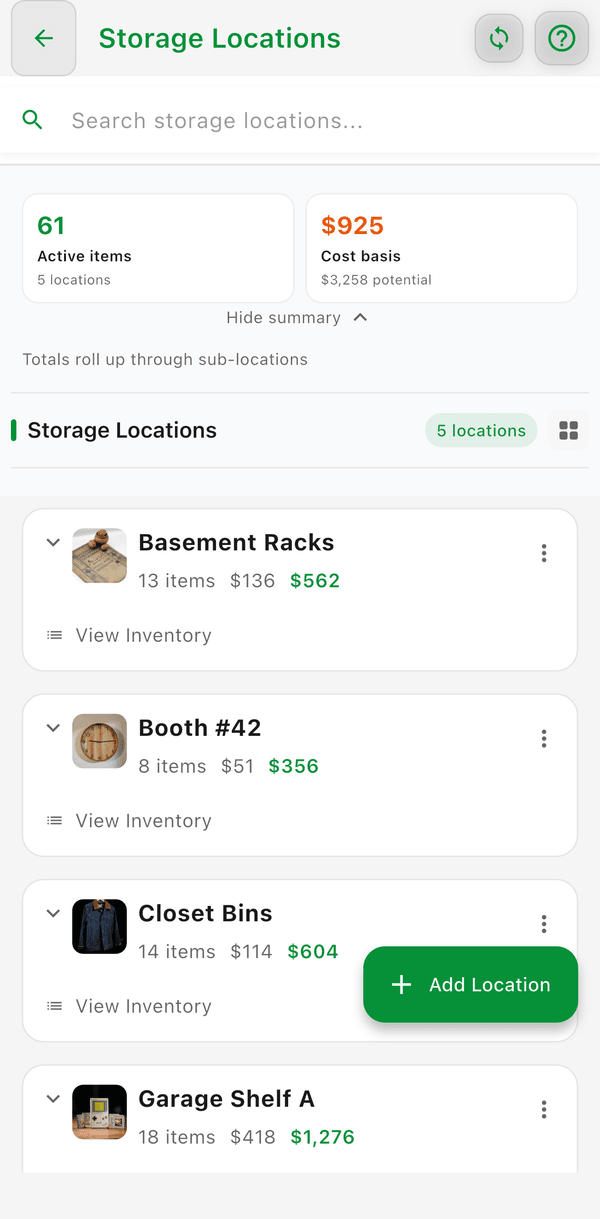
The Storage screen offers two view modes:
- List View -- Sublocations appear indented under their parent. A parent's item count and value include everything in its sublocations.
- Crate View -- Visual grid showing locations as crates with item counts, grouped so sublocations follow their parent.
Toggle between views using the list/grid icon at the top of the screen.
Assigning Items to Locations
When adding or editing an item, select a Storage Location from the dropdown. Sublocations show their full path (e.g., "916 Ponytail › Office"). You can assign items to a parent location directly or to any of its sublocations.
Filtering by Location
Filter your inventory by location from the filter icon on the Inventory screen, or by tapping a location on the Storage screen. Filtering by a parent location shows items from all of its sublocations too — filter by "916 Ponytail" to see everything in that house, or by "916 Ponytail › Office" to see just that room.
QR Codes for Storage
Every location already has a QR code. To print one and attach it to a shelf, bin, or container:
- Open the location's menu on the Storage screen
- Tap Location QR code
- Print and attach to the physical location
Scan the QR code anytime to instantly see all items stored there.
Good to Know
- You can move items between locations using bulk edit, or from a location's menu with Move items out (move its items somewhere else) and Move contents to… (move everything in it to another location)
- Storage statistics show how your inventory is distributed across locations; parents roll up their sublocations
- To move a location under a parent (or back to top level), edit it and change Parent Location
- When you're done with a location, choose Archive location from its menu. You can't archive a location that still has active items. Archived locations are grouped under Archived on the Storage screen, and a storefront section can't point at one
- Deleting a parent location moves its sublocations to the top level — it never deletes them or their items
- Deleting a location that still has items asks whether to move them first: up to the parent when deleting a sublocation, or to Uncategorized when deleting a top-level location
- Two sublocations under different parents can share a name (e.g., an "Office" in each house). Item lists show only the sublocation name, so use distinct names if you find that confusing
- Storage QR codes encode
https://app.getflippd.com/storage/{location ID}