 Flippd Help
How do I attach a proof of purchase or receipt to an inventory item?
Link receipts to inventory items to keep a record of your proof of purchase. This is useful for returns, warranties, tax documentation, and general record-keeping.
Enable the Feature
- Go to Settings (tap the gear icon)
- Tap Inventory Preferences
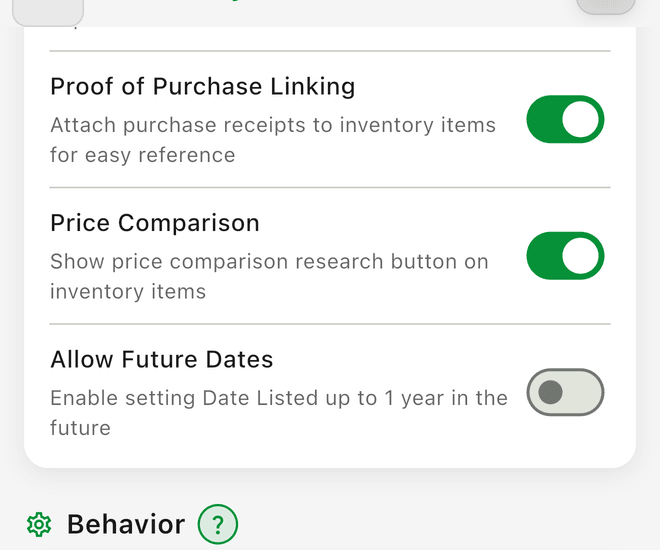
- Toggle Proof of Purchase Linking on
A disclaimer is shown on first enable explaining how receipt data is used. The Proof of Purchase section now appears on all item detail screens towards the bottom.
Attach a Receipt to an Item
- Open the item you want to link a receipt to
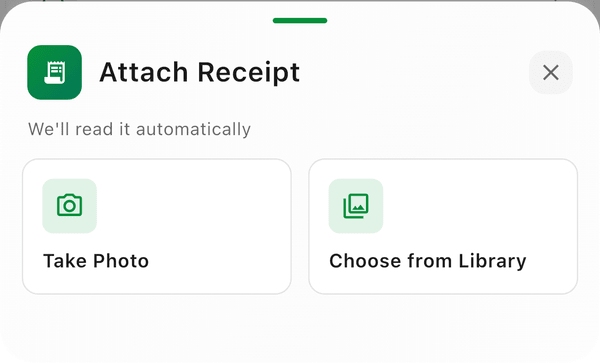
- Scroll to the Proof of Purchase section and tap Attach Receipt
- Choose one of the following:
- Take Photo -- Use your camera to capture a receipt
- Choose from Library -- Select a receipt image from your photo library
- Link Existing Receipt -- Choose a receipt already saved in Flippd
View Proof of Purchase Receipts
Proof of Purchase Receipts appear as chips on the item detail screen showing the merchant name and date, along with a thumbnail of the receipt image.
All of your receipts, including ones not linked to any item, are managed from Tools > Proof of purchase. Receipts that aren't linked to an item are grouped under Unattached.
Unlink a Proof of Purchase Receipt
Tap the linked receipt chip, choose Unlink from Item, and confirm. Unlinking a receipt does not delete the receipt itself -- it only removes the association with the item.
Good to Know
- The receipt total is informational only -- it never affects the item's profit calculation
- Multiple receipts can be linked to a single item (useful for items with separate purchase and shipping receipts)
- A receipt can also be turned into inventory items: choose Start with a receipt from the Add menu, or open a saved receipt and tap Read receipt. See What are all the ways to add inventory to Flippd?
- Always keep your own copies of receipts as a backup
- Receipt data syncs across your devices